
A Practical Profile Photo Checklist: Lighting, Framing, and Expression
# A Practical Profile Photo Checklist: Lighting, Framing, and Expression
A useful profile photo is usually not the most dramatic image in your camera roll. It is the one that lets another person recognize you easily, understand the context, and get a clear sense of how you chose to present yourself. If you are updating a LinkedIn, community, creator, or social profile, start with light, framing, and comfort. Those three choices are easier to control than a vague hunt for a “perfect” face or a score.
This checklist is designed for an ordinary phone camera and ten quiet minutes. It is about image quality and communication, not judging anyone’s appearance.
If you want to see how structured feedback can focus on controllable photo choices, review the [Amihotor photo-presentation demo](/facial-attractiveness-demo) after completing the checklist yourself.
## The three priorities
Before changing anything, decide what the image needs to do. A professional directory photo needs reliable recognition. A dating or social profile may benefit from more context and warmth. A creator profile may need to match a visual style. In every case, the baseline is the same: the photo should be recent enough to be honest, sharp enough to recognize, and comfortable enough that you will not regret using it.
Think of the order this way:
1. Can people see you clearly?
2. Does the crop fit the place where the photo will appear?
3. Does the expression feel like a version of you that you would choose to show?
If the answer to all three is yes, you have a strong candidate. Extra editing is optional.
## Lighting: make the camera’s job easier
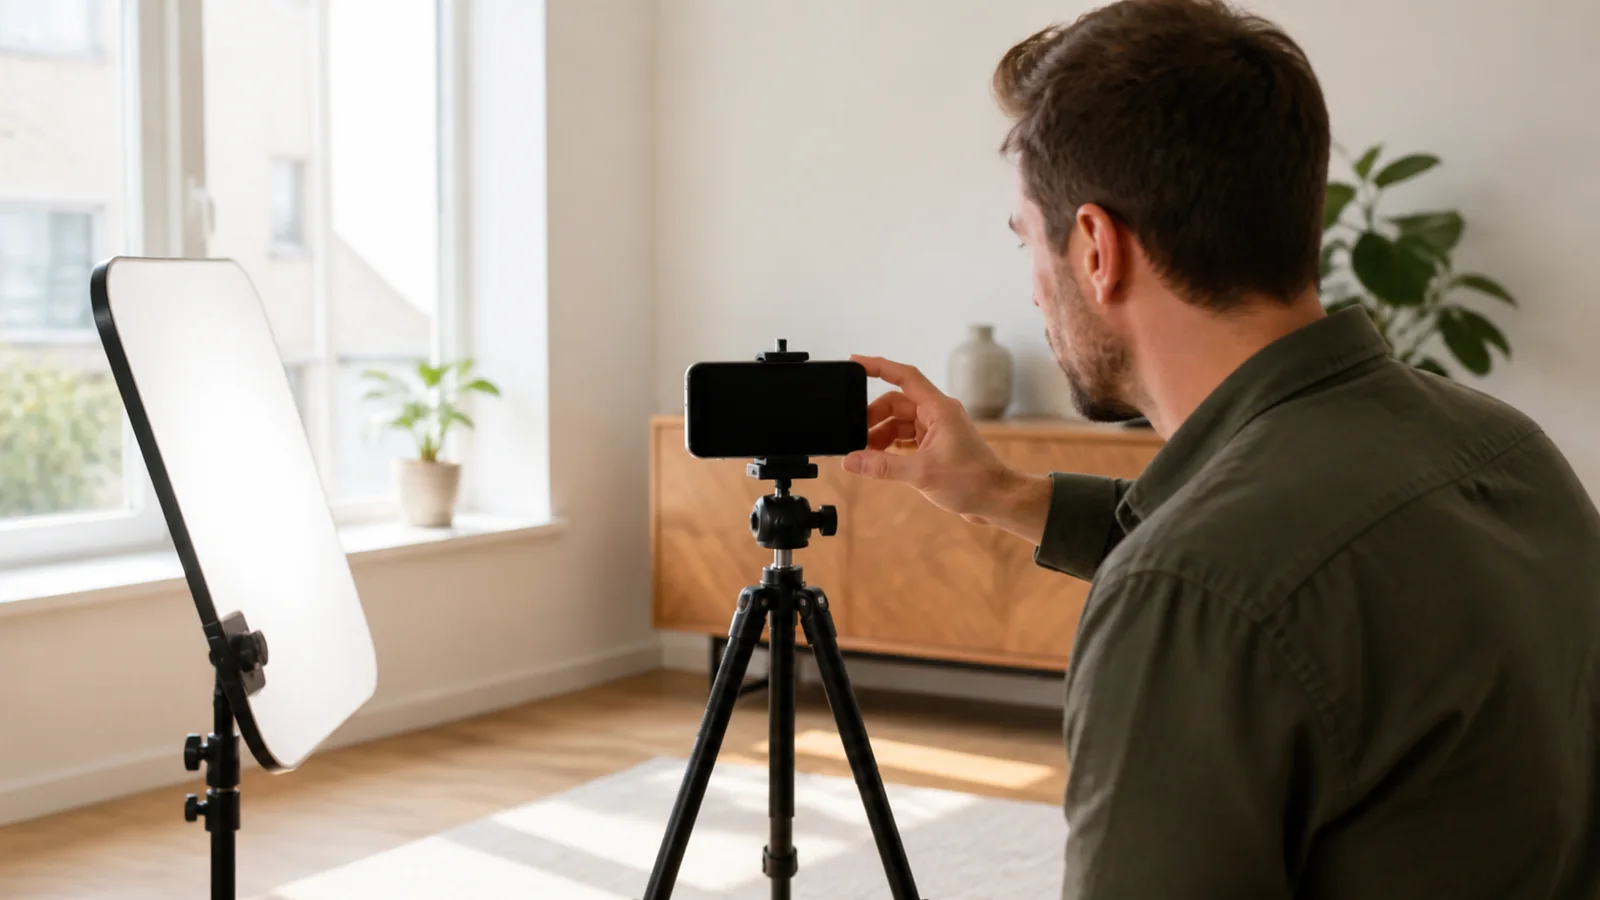
Soft, even light is the safest starting point. Stand facing a large window or turn slightly so the window is about 45 degrees from your face. This often creates gentle definition without hard shadows. If sunlight is direct and bright, move a step back, use a sheer curtain, or photograph when the light is less harsh. The goal is not a studio look; it is a readable image with detail in both the face and background.
Avoid placing the brightest window directly behind you unless you deliberately want a silhouette. Backlighting often makes the camera expose for the window and leaves the subject dark. If you must use a bright background, tap your face on the phone screen to set exposure, then reduce the exposure slightly if highlights blow out.
Indoor overhead lights can create uneven shadows or mixed colors. A simple fix is to turn off a harsh ceiling light and use one main daylight source. At night, place a lamp slightly in front of you, not directly beneath your chin or behind your head. Test one frame, zoom in, and check whether the eyes, hairline, and clothing edge remain distinct. You are checking clarity, not trying to erase normal texture.
### Lighting checklist
- Choose daylight or one soft front-side light.
- Keep the brightest light in front of, not behind, you.
- Avoid a cluttered or very bright background competing with the subject.
- Take one test photo and inspect sharpness at full size.
- Stop editing before skin, hair, or features stop looking like you.
## Framing: show enough context without shrinking the subject
For a small avatar, a head-and-shoulders crop is often more useful than a full-body image because details stay visible at a small size. Hold the camera around eye level. A low camera angle can feel accidental; an excessively high angle can make the image feel less direct. Put the phone on a shelf or small tripod, use a timer, and step back. This gives you room to settle into a natural posture instead of holding the camera at arm’s length.
Leave a little space above the head and avoid cutting through the chin, mouth, or eyes. Centered framing is dependable, while a slightly off-center composition can work when the background is simple and intentional. Keep the lens clean: a quick wipe removes haze that editing cannot truly repair.
Check the platform’s crop before you decide. A circular avatar can cut off the edges of a carefully composed rectangular photo. Save a version with extra breathing room, then preview it in the actual service. The right framing is the framing that survives the final crop.
### Framing checklist
- Use the rear camera when practical; it is often sharper than a front camera.
- Position the lens near eye level.
- Use a head-and-shoulders crop for small profile slots.
- Keep your eyes away from the top edge and leave crop-safe margins.
- Preview the image in the intended app before treating it as final.
## Expression and posture: choose comfort over performance
There is no universally correct expression. A relaxed neutral expression, a small smile, or a more animated look can all be appropriate depending on the context. The useful question is: “Would I be comfortable if a colleague, client, friend, or future collaborator saw this?” If the answer is yes, that matters more than conforming to a trend.
To avoid a stiff pose, breathe out, lower your shoulders, and take several frames rather than trying to manufacture one moment. Look at the lens, not your own preview, when you want a direct connection. Turn your body slightly, then bring your face gently back toward the camera if a fully square pose feels tense. Do not force an expression that does not resemble how you communicate in real life.
The same principle applies to clothing and background. Choose something that does not distract from the purpose of the photo. A favorite color, a workspace, or an outdoor setting can add useful context. Avoid including other people unless they have agreed and the platform context makes it appropriate.
## A ten-minute repeatable workflow
1. Clean the lens and find soft window light.
2. Put the phone at eye level and set a three- or ten-second timer.
3. Take three versions: neutral, small smile, and the expression that feels most natural.
4. Review at full size for blur, shadows, and unwanted background details.
5. Make one modest crop and exposure adjustment if needed.
6. Preview the image where it will actually appear.
7. Keep the version that is clearest and feels most like you.
If you want outside feedback, ask for specific observations: “Is the photo sharp at avatar size?” “Does the background distract?” “Which of these looks most like me?” Specific questions produce more useful answers than “Which is best?”
## Limits worth remembering
A well-lit, well-framed photo may make communication easier, but it does not determine your competence, likability, personality, health, identity, or value. Automated tools can help surface visible, technical issues such as an unusually dark image, an awkward crop, or glare. They cannot know why you chose an image, who will see it, or what feels authentic to you. Treat any suggestion as an option to consider, not a verdict.
## FAQ
### Should I use filters?
Small exposure or color corrections are fine when they keep the image accurate. Avoid edits that make it difficult for someone to recognize you offline.
### Is a professional camera necessary?
No. A clean phone lens, steady support, and soft light generally matter more than expensive equipment.
### How often should I replace a profile photo?
Update it when it no longer represents how you look or the context you want to communicate. There is no required cadence.
## Editorial disclosure and sources
Written by the Amihotor Editorial Team. This is practical communication guidance, not medical, psychological, or attractiveness advice. Amihotor may offer photo-feedback tools, but a tool’s output should never replace your own judgment or informed consent.
For background on transparent data practices, see the [FTC’s consumer privacy guidance](https://www.ftc.gov/business-guidance/privacy-security/consumer-privacy). For technical context on how image quality can affect face-image processing, see [NIST’s Face Recognition Vendor Test quality work](https://pages.nist.gov/frvt/html/frvt_quality.html).